How to Make Your Own Leather Belt: A Step by Step Guide
Crafting a leather belt is an art – but with a bit of practice and some DIY skills you can make one yourself at home. This step-by-step guide will guide you through the tools you’ll need, and the common mistakes to avoid, so your handmade leather belt comes out looking great.
Contents
Creating your own belt is not only a rewarding craft project, but also a great way to add a unique accessory to your everyday outfit, or to make your historical costume look perfect.
- Choose the belt width by measuring the width of the belt loops on your pants
- Personalise your belt with decorations and details that will match your style
- Do not wait until a craftsman has time to complete your order – make it yourself!
The Key to Success: Quality Materials
Before you start, make sure you have all the materials and tools available.
Materials You’ll Need:
- Leather strap – ideally cow leather, which is extremely strong and durable. For men’s belts use leather that is 3–4 mm thick. For women’s belts, leather that is 2–3 mm thick is usually enough.
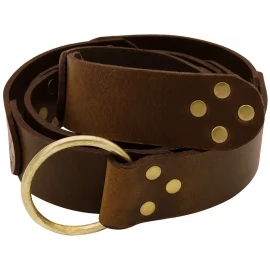
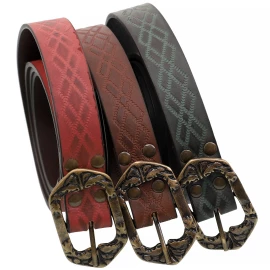
- Metal buckle – ideally brass or stainless steel, long-lasting and hypoallergenic.
- Brass rivets – to attach the buckle to the strap.
- Rivets washers
- Belt tip (end cap) – reinforces the belt’s end and adds a decorative element.
- Decorative fittings – add Celtic, Viking, or Gothic touches to your belt so you can look just like the warriors of old.
Tools You’ll Need:
- Soft wooden base
- Ruler and pencil for marking
- Small hammer with rounded head
- Sharp knife or hand cutter
- Oval hole leather punch
- Alcohol-based edge dye
DID YOU KNOW... The finest leather belts are made from “croupon” leather – a part of a bull's hide along the ridge, and the strongest and best part of the cow's leather. It costs more, but your belt will last for years.
Making Your Belt in Five Steps
We’ve divided the process of making a leather belt into five simple steps. Each one requires a bit of focus, so be sure to set aside enough time and find a calm space to work.
1. Preparing the Strap
First of all, prepare the strap with the following parameters:
- Strap length: Measure your waist and add 15–20 cm for the buckle and belt end
- Strap width: Choose the width to match your pants’ belt loops (38 mm for jeans, 32 mm for suit trousers).
You can buy pre-cut leather or get a larger piece of leather and cut it yourself:
- Use a ruler and pencil to mark the spot on the leather where you’ll cut the strap.
- Avoid cutting from the outer edges of the hide – it may seem easier, but that area is usually softer and less durable.
- Always cut lengthwise, along the back of the hide, to get the strongest strap. Take your time and work carefully – even small imperfections will show on the finished belt. A well sharpened knife or hand cutter will make the job much easier.
Finally, use a pencil to mark the spot for the buckle and the holes for fastening.
2. Finishing the Edges
If you really want your leather belt to stand out, the next step is finishing the edges. This gives your belt a professional look, makes it smoother to the touch, and prevents the edges from fraying over time.
Here’s how to do it:
- Trim the edges on both the front and back into a gentle curve.
- Sand the trimmed edges with fine sandpaper.
- Apply an alcohol-based dye to the edges – choose a shade as close as possible to your leather strap.
Not a perfectionist? Then you can skip this step and move on.
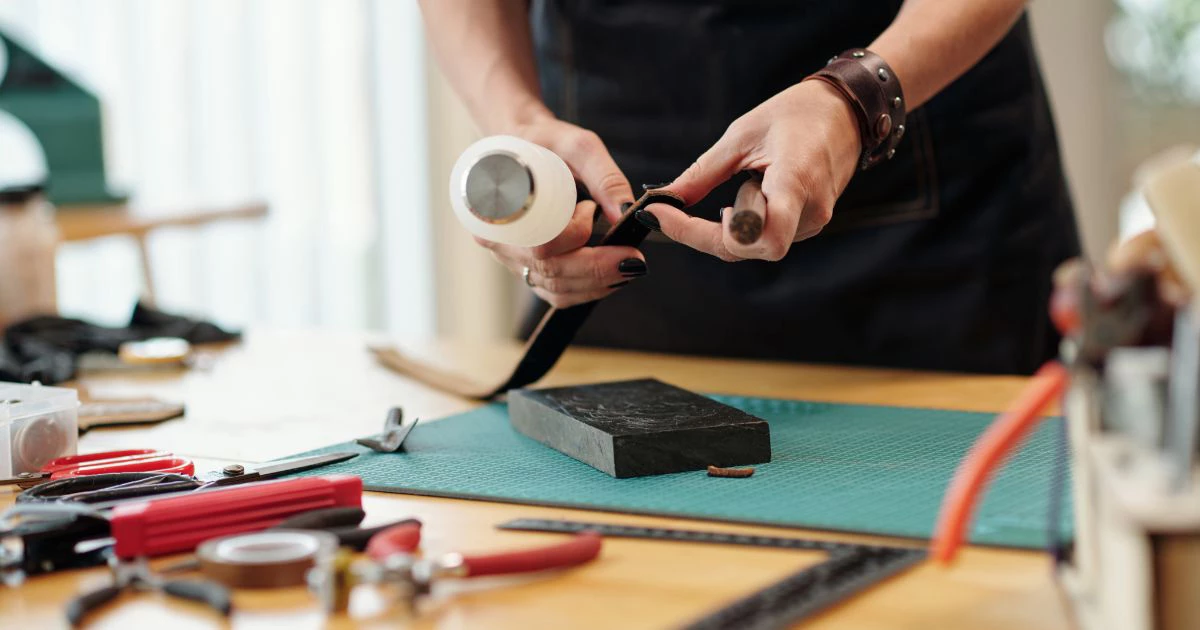
3. Installing the Buckle and End Cap
Punch holes in the strap for the buckle and for the belt tip if you’re using one. Make sure the holes match the size of the rivets on the back of your buckle.
Place the buckle at the end of the strap and push the rivets through the leather. Add the washers to the rivets, then trim them down so they stick out a maximum of 2–3 mm. Finally, carefully hammer the rivet ends flat to secure everything in place.
DID YOU KNOW… even a sturdy buckle can get scratched or dented if you’re rough with it? To avoid that, place it on a soft wooden block or a piece of fabric while you do the riveting. It’s also a good idea to do a “test riveting” on a scrap of leather before working on your actual belt.
Use the same method to attach the belt tip securely to the strap.
4. Punching the Holes
Punch the holes in your belt using an oval leather punch. A standard belt usually has five holes, each spaced about 2.5 cm (1 inch) apart. Make sure they line up neatly.
5. Decorating and Final Care
How you personalise your belt is entirely up to you. You can add a logo, a monogram, or some decorative stitching – little details that make your belt truly one-of-a-kind!
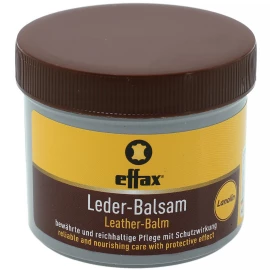
Apply leather balm or wax to maintain colour and durability. If you need more guidance on leather maintenance, read our tips on how to care for leather products properly.
Ready for Your Next Event? We’ve got you covered!
Whether you are getting ready for LARP or cosplay, a handcrafted leather belt could be the detail that perfectly completes your look. You can decorate it to match your costume and other accessories, such as leather belt bags, pouches, or sword scabbards.
Not ready to tackle leatherworking yourself? Don’t worry, we’ve got a wide range of ready-to-use leather belts waiting for you!
At Outfit4Events, you can choose from Medieval and Renaissance belts in many sizes and colours that will suit your style.
Comments